

Today on the blog we’re discussing how to finance a boat and how boat loans work so you can be fully prepared when you go to make your...
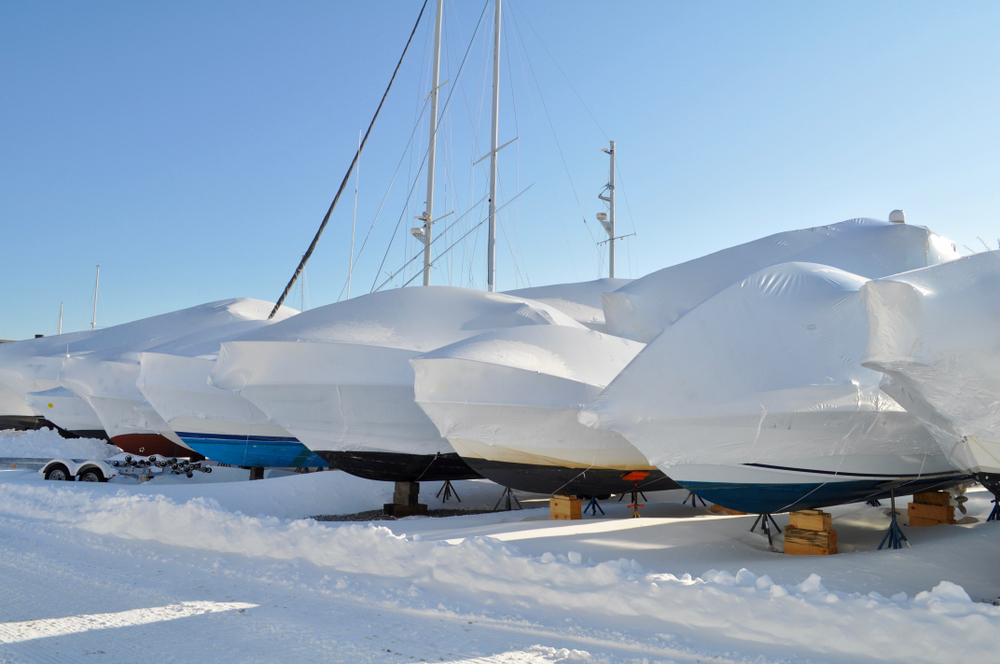
It's time we talked about dewinterization–what is it, how much does it cost, and how do you do it? Below you'll find our guide on all things boat dewinterizing to ensure that you're ready to set sail!
Why is Dewinterization Important?
Dewinterization is the first chance you'll get to clean and inspect your boat's engine, propeller, battery, belts, fuel lines, etc., after the months it spent in storage or outside in your backyard, braving the elements. During this process, you're able to assess any damages, maintenance, and repairs your boat needs before putting it in the water, which can save you thousands of dollars down the line if done correctly.
When Is It Safe (and Best) to Dewinterize a Boat?
You may get tempted to dewinterize your boat at the first sign of warm and sunny weather, but if you live in a place like New England where you could see spring- and summer-like temperatures one day, then snow and sleet the next, it’s vital to wait until the last spring freeze. To find the latest information about frost/freeze in your area, visit the National Center for Environmental Information.

How much does it cost to have a professional dewinterize a boat?
If you have no interest in doing this work yourself, you’ll receive no judgment from us. The cost to dewinterize is affordable, considering the amount of time and energy you'll save. The average price is around $300, but of course, it varies, mainly on the size of the vessel. If you have a single outboard motor, it'll be around $100. A larger cabin cruiser could cost upward of $500-$600, and possibly more.
How to Dewinterize Your Boat:
1. Remove Boat Cover and Check For Damage and Pests
You shouldn’t have to worry too much about this step if you were incredibly diligent in your winterization prep, but it happens to even the most prepared sailors. Smaller critters like rodents, birds, and bugs can find a way to squeeze, claw, chew, or scratch through any gaps in your canvas. So look around for droppings, nests, tears, bite marks, etc., around your boat, and be cautious when you roll back its cover.

2. Inspect Engine and Propeller
Check the engine and propeller for dents and damages. You'll also want to change your boat's oil and the correct additives when replacing your oil filter. Oil changes will help prevent your engine from corroding or rusting over time. Fuel lines, especially, tend to crack over winter with dry cold temperatures.
3. Check Fuel, Fuel Lines, and Connections
Colder climates are tough on the fuel line and hoses of your boat. First, do a thorough visual inspection of the lines, cooling system hoses, and connection clips to ensure no cracked lines or loose connections. The fuel tank should have been left full through the winter with a fuel stabilizer additive so no moisture could get in your fuel tank and cause damage.
Check your fuel filter to ensure it is clean and clear. Replace it periodically to keep your boat running smoothly. Next, refill the cooling system. You can top off the tank with fresh gas if everything looks good. Finally, replace any lines or hoses with cracks that appear to be dried out and brittle.

4. Inspect and Clean the Distributor, Carburetor, and Plugs
Remove your distributor cap and ensure the distributor has not eroded over the winter. You will also want to check all your spark plugs to guarantee they’re in place and tight. You may have placed a plastic bag over your carburetor during the winterization process to keep it clean and prevent moisture from entering.
5. Scan Thermostats and Water Pumps
About every 200 hours of boating, the impeller’s water pump should be replaced. This part keeps water flowing down to cool your engine, so this step is one you shouldn’t ignore. If it’s ready to be replaced, then it should be.
In addition, the thermostat plays an essential role in regulating the water temperature. If it’s not working correctly, your engine can become too hot or cold. Like the water pump, make sure to replace this once it reaches 200 hours of use. Don’t forget to check your hoses for cracks or holes. If you find them, replace them immediately.
6. Check Blige Pump
Your bilge pump includes the pump, the automatic switch, and the circuit. When water enters the bilge, it hits the switch. Therefore, if the pump doesn’t turn on appropriately, you may be in a spot of trouble.

7. Examine Cooling System and Replace Antifreeze
As you've likely flushed out the cooling systems when you winterized your boat, you'll need to refill it. Even if you skipped this step last winter, you'll still want to flush and drain it, following up with replacing the antifreeze. To do so, use a diluted coolant with equal parts water (50/50 mix is standard).
As you refill your cooling systems, take a glance at the hoses to ensure no cracks or worn areas that may cause trouble later in the summer. Lastly, connect the wires of your spark plugs again.
8. Replace Battery
Similar to cars, boat batteries eventually need to be replaced. The last thing you want to discover is the battery has died as your reservation ends at a marina, or worse, in the middle of the ocean.
A dead battery is easily preventable. Be sure to charge your boat's battery for a day or at least overnight before you first launch. You could also hook your boat battery to a trickle charger over the winter months.

9. Scan for Worn Belts, Cables, and Hoses
It is of the utmost importance that you check for worn belts during the de-winterizing process to see if they need replacement. Press your hand down on them; there shouldn’t be much give. If there is a lot of slack, the belts need replacing. You should also check for soot as it is a tell-tale signal the belts need replacement.
10. Clean Canvas, Carpet, and Vinyl
You may need to purchase or rent a shop vacuum that you can bring on board with you to vacuum any leaves, dust, dirt, and grime that may have crept under your boat’s cover during the fall and winter. Now’s the time to clean up the cushions, vinyl, and if you're a pontoon owner, your bimini top. This is also a great time to check for and patch up any cracks or tears in the vinyl upholstery or benches.
11. Repaint Boat Bottom
It would be best if you repainted the bottom of your boat with anti-fouling paint to keep it clean and to avoid rot. If needed, sand and scape the bottom and wipe it down before applying paint.

12. Polish and Wax
Polishing or waxing your boat may seem like a vanity point in our checklist. Still, it supports the integrity of your boat's moldings. It also prevents structural damage to windshields, fiberglass, or whatever else they could be fastened against or holding together.
Use a power washer on a low setting to clean the dirt and mildew off that might have accumulated over the season, then once it's dry, go over your boat with a wax or polish. If your vessel has teak, apply a fresh oil finish and ensure it has time to absorb into the wood before putting it in the water.
13. Reload Safety Gear and Check Navigational Lights
Make sure all your safety equipment is not expired or damaged and ready for a potential emergency. This step is one of the most important on our list and includes reading expiration dates for fire extinguishers and replacing them if needed. You should also test the lights in the cabin and on deck, check signaling equipment like horns and flares, and check that you have the right amount of flotation devices on board.

14. Reattach Electronics
At this point, you can reattach your elections like GPS or any navigational devices, depth finders, etc., and test lighting systems or speakers before going back out on the water.
15. Reload Accessories
Before getting your wakeboards, kayaks, inflatables, grills, and fishing gear onboard, ensure you have the correct amount of life jackets, fire extinguishers, First-Aid kits, and other safety equipment.

16. Check the Trailer
Your trailer should be kept and maintained just as well as your boat, especially if you plan on traveling long distances. First, check those tires to ensure no flats and their pressure is correct and balanced. Next, grab a friend and check the trailer's light signals as you may need to replace a bulb or two. Lastly, add lubricant where you feel it necessary.
17. Check Steering
The steering may be a bit stiff on your first spring launch. You probably won't notice this until you're already in the water, but don't panic. The most likely cause is a blockage in the steering tube. It might take some muscle to get out the hard grease that's blocking it, but once you do, you can use a steering tube brush to clean the tube. Lastly, re-grease and place the steering cable back, and then you're ready.

Final Thoughts
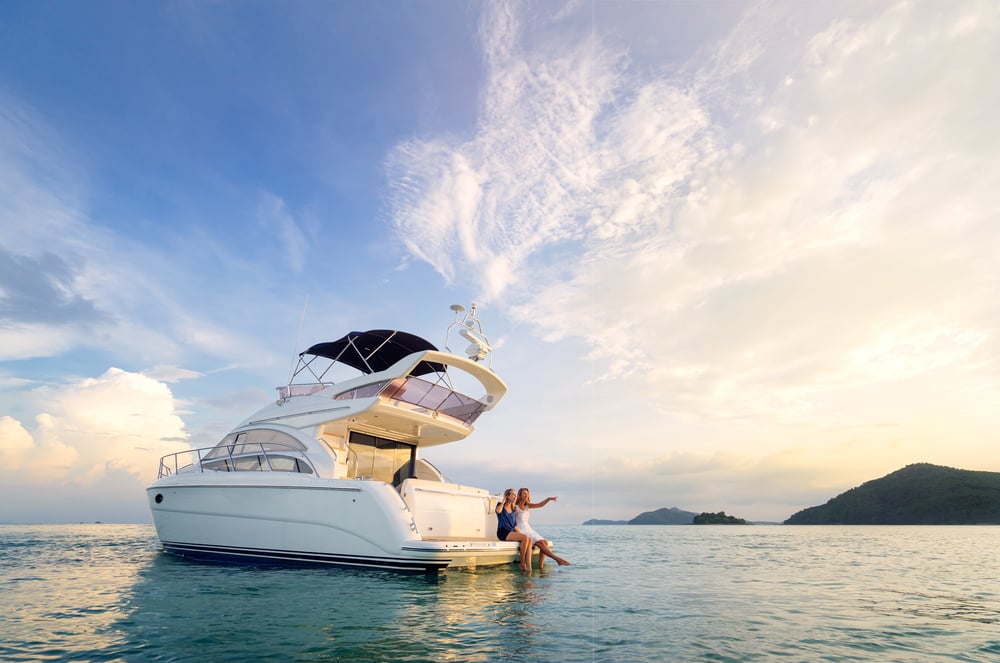
Whether you choose to consult a professional or break out your toolbox and DIY, dewinterizing your boat is a crucial first step in your boating season. We hope you’ve found this guide helpful, and as you plan out the rest of the season, you can rely on Dockwa for your marina boat slip or mooring reservations.
Check out our other blog posts to get an inside look at our favorite destinations, marinas, liveaboards, and tips for boaters. Join the conversation on Flipboard, Facebook, Twitter, and Instagram.